
quick and dirty knife sheath
2012-02-20
While at Wintercount this year I bought myself I new knife from Mike.
It's beautiful, and I want to use it for bushcraft stuff, to do that though it needs a sheath, something it didn't come with.
Well, this is a quickly solved problem. I've made one sheath before, but wasn't super happy with the result.
I'm calling this a "quick and dirty" knife sheath because the "right" way to do it would be to use full-grain leather and harden it, getting it wet repeatedly. Instead I wanted something I could make in a couple of hours from stuff I had on hand. So here's the result:
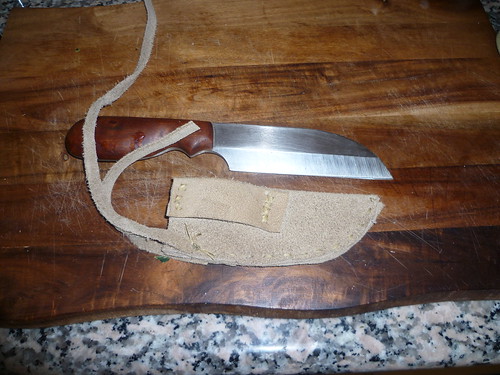
This was made from a chunk of leather I got a while back from a frabric shop on super sale. As you can see it's not super-nice stuff, but it was cheap, and it's pretty tough. It's a simple welted knife sheath with a belt loop and a leather thong to tie the knife in place.
The welt is an extra layer of leather that goes between the first two layers to help protect the stitching, it runs just around the stitched edge, and is stitched directly through, so the stitching is running through 3 layers of leather. Note that my knife has the blade on the flat side, this simplified the process slightly, as I didn't have to be picky about ensuring the welt would stop the blade from cutting the stitching.
Process:
I started by taking a piece of leather and folding it over my knife, then cutting about 3/8" from the blade. This gave me the basic chunk of leather for the sheath.
Next, to make the welt I took one side of the remnants and cut a second curve along my original cut, about 3/8" wide. This made a nearly identical curved piece, which I cut to size to fit properly on the edge of the folded piece of leather
I then cut out a piece of leather for the belt loop. If I stitched it the sheath together first, adding the belt loop would be extremely difficult. doing it first, on the other hand, makes it pretty simple.
For all of the stitching I used a metal sewing awl to punch the holes and stitched it with a large needle and waxed linen twine. I missed the hole one time actually, tried to use a sewing palm to force it, and snapped the needle (which, unfortunately, was borrowed from Jess... oops!)
Next I did a straight running stitch down the side of the sheath, going through the welt in the middle. This step is where you really need a very strong awl and strong hands, since you're punching through 3 layers of leather at once.
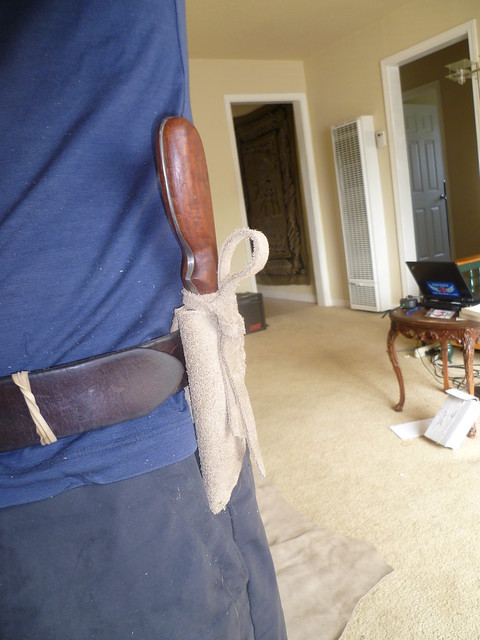
Once that was done I stitched on thin strips of leather to tie the knife in place. I'd considered a single strap going over with a snap instead (which would've been added before sewing up the sheath), but I decided I liked the idea of something I could make myself, rather than using a commercial snap. For these strings I simply punched two holes in each, and, using the holes already used to stitch up the side of the sheath I attached both strips of leather on at once with a doubled loop of twine and a surgeons knot. I made them a bit longer than needed and cut them after figuring out how I'd want to tie it.
We'll see how it holds up, but I'm pretty happy with the result. Now I get to try this gorgeous knife out in the field!
more photos
http://www.flickr.com/photos/smalladventures/sets/72157629405206083/