
Reparing a truck cap
2017-01-21
When we rolled our truck
http://www.blog.smalladventures.net/2017/01/jack-is-back.html
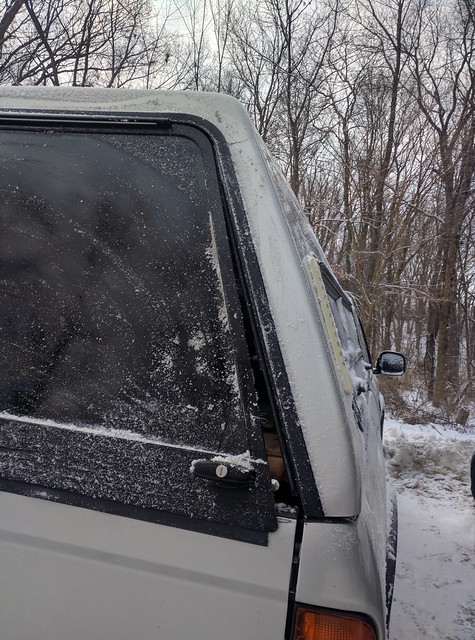
, the cap got a little damaged
Our first thought was to just repair that crack on the right edge, and that would probably do it. So, first thing was to try a bunch of ways to push it back in to position, so we could somehow glue it back that way. Our first attempts were by hand and didn't go so well, then I tried this:
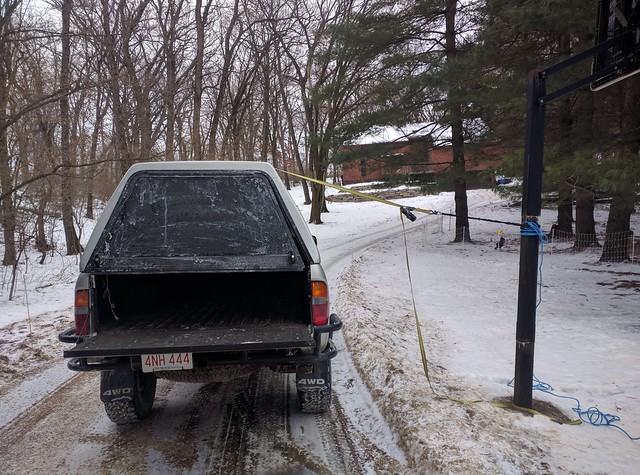
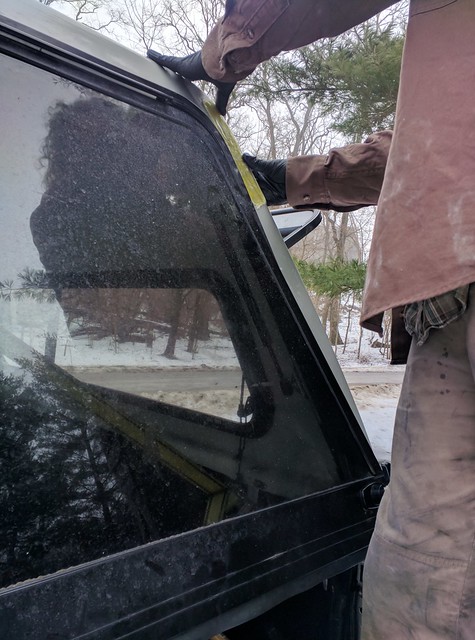
First I attached the ratchet strap to the one roof-rack tower that hadn't been broken off, but I quickly ripped that one off two. The picture above is the ratchet strap running down and around to the bumper on the left side. Using this we could wrack it just about back to straight, but it just popped back.
I posted about this on Facebook and my friends with boats suggested just grinding out a bunch of the fiberglass and putting it back. That seemed pretty reasonable, but it's not warm enough here in Wisconsin for epoxy to work well. I read a bunch about doing the repair to understand it... but then we called a specialist here in WI and he said he'd take a look.. Another shop had said he was the Guru for the whole area.
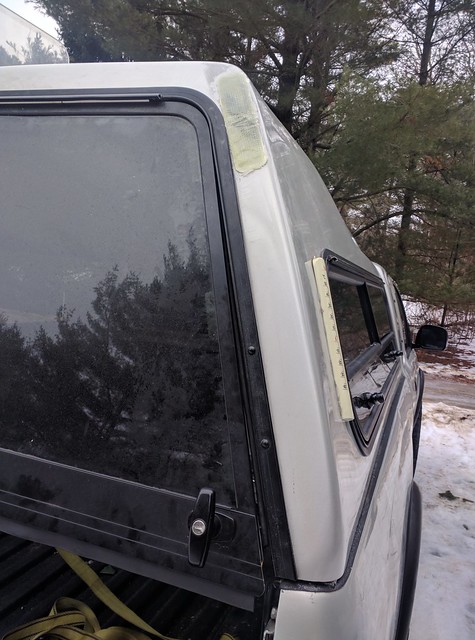
Well, when we got there he said if it was his he wouldn't bother repairing it. He said that random fiberglass like this is so weak to start with that the reduction in strength due to the damage doesn't matter, and he'd figure out a way to torque it back in place. He also noticed the right edge of the window frame had shifted downwards, so it was no longer level with the roofline. He also said he'd use superglue on the crakc.
So, Angie and I gave that a shot. We pushed, shoved, clamped it down in spots and unclamped it, hammered, tried bending the hinge... and nothing worked.
I got fed up, and as a last ditch I drilled a hole in the upper left corner of the cap, near the window, stuck a bolt through it to attach to (I actually used one of the J-clamps the cap is held on with to do it... ended up bending the bolt but that was cheap to replace) and ran a ratchet strap from there down to the bed on the right side, like this:
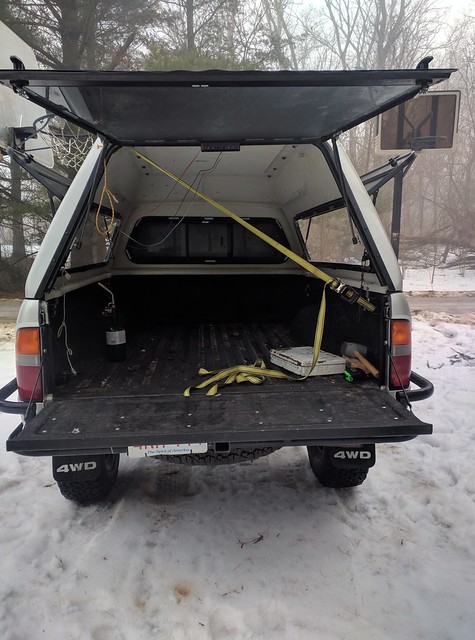
Cranking that tight I was able to actually wrack it back straight. So, since it was late I pulled it a bit past straight and let it sit overnight. Next day when I let it loose the cap had shifted a little, warping back!
I discovered online that some people used heat to rework fiberglass a little, so I cranked it tight again and hit it with my friend's propane torch on the corners where I needed it to warp back.
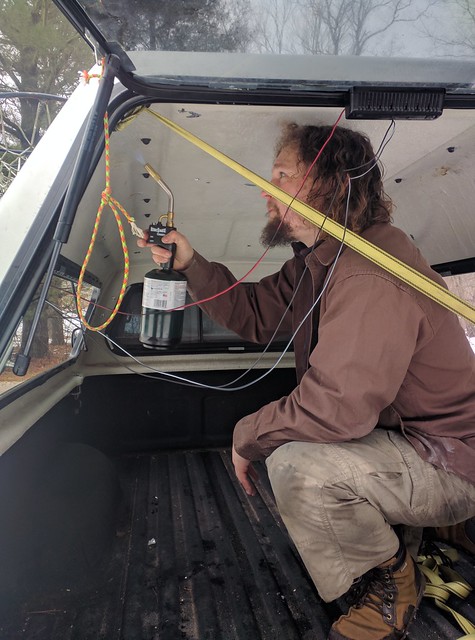
The heat allowed me to crank the strap a little tighter, a little more heat, crank it a little tighter, pulling the cap farther and farther past straight in the opposite direction. I released it a few times to check (letting it cool first). I got it pretty close, but not *quite* good enough to close the window properly.
So, we figured maybe repairing the crack would add a little more spring to that side and help a little more. We cranked it nice and tight again, compressing the crack together, and then glue the crack with fiberfix.
THAT did it, when we released the strap it was "close enough".
I held my judgement though until the next day. But it hadn't sprung back yet, it's now day 2 and it's still holding the position. Hooray! This was quite a long time in the making... so we
This cap cost us over $2000 new... If we'd been unable to repair it we probably would've bought a less nice used cap with less head-room and no windoors, and just made do.... but it's great to have our cap back.
There were also a couple of damaged spots in the roofline, but they aren't structural, so I just filled with a 5 minute epoxy today. Total cost ~$15 for epoxy. ~$12 for fiberfix ~$0.25 for a new bolt. A few cents worth of propane, and a borrowed ratchet strap.
Next up... the roofrack (and a few other repairs).