
DYI: truck cap roof rack
2017-01-21
Once we'd repaired the truck cap
http://www.blog.smalladventures.net/2017/01/reparing-truck-cap.html.
it was time to build a new roof-rack. New towers for the Thule roof-rack we had were something like $350. On top of that the "feet" for the towers had ripped out of the roof-rails damaging them... we could offset the rack several inches from where it was, but it wouldn't be as strong. We ended up with this:
I wanted to re-use the bars off the old rack if we could, but they'd been bent. So I found a tree with 2 nearby trunks spaced just about right. I stuck the bar between the trunks so I could bend it, using the rest of the bar as a giant lever... it worked great and it just a couple of minutes I'd straighted out both bars.
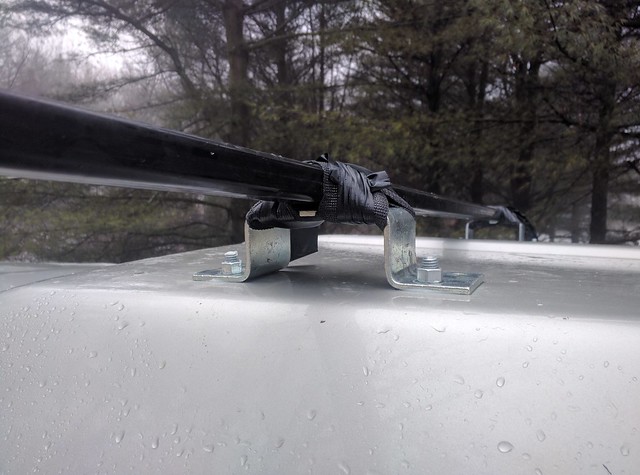
Next was the question of how to actually attach the bars to the truck. Angie and I took a ride to Home Depot and poking around came up with something we thought would work pretty well. 4 Door-stop plates, each bolted on with 2 large bolts, and huge washers on the underside.
Okay, that makes a nice stand-off for the bar, what flumoxed us for a while was how to attach the bar to the stand-off. We came up with some overly complicated methods involving bolts etc. We considered just using rope, and finally settled on fiberfix tape. It's simple and permanent, doesn't require tons of little bolts and plates, and we don't have to worry about UV damage like we would with rope. Great... simple enough.
When we got home I took a look at where the door-stop plates would actually mount, and I didn't like how far in they ended up. So, Angie helped me unbolt them and pull them off. I re-used some of those holes actually when drilling my new holes for the much larger bolts I was using.
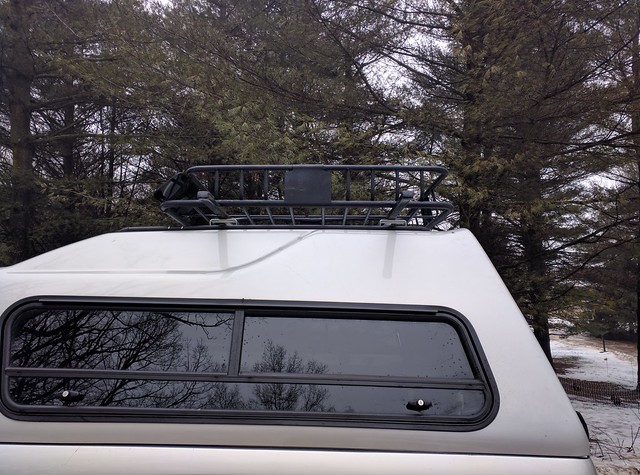
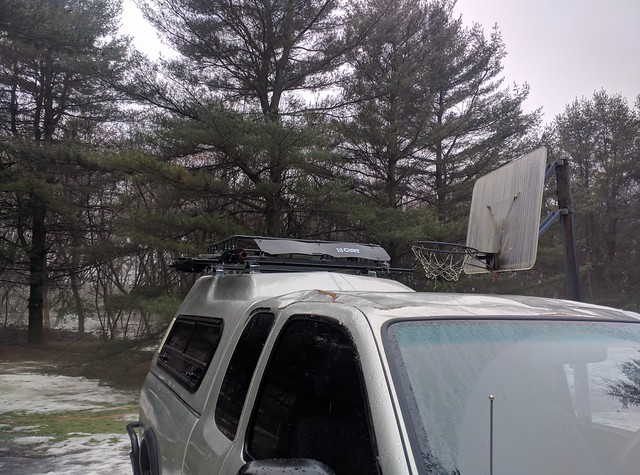
Of course we applied silicone to the washers, plates, and bolts before sticking them through, to try and get a watertight seal. Here's the fully assembled roof-rack. This is just after applying the fiberfix, so it's still setting.
Angie and I both tested it and the whole thing feels VERY secure... actually it's probably overkill. When we rolled the truck the towers and track were the first part to fail, and as a result the bars, basket, and cap itself were all left mostly undamaged. If anything ever catches on this roof-rack it'll rip a chunk out of the roof of the cap... My plan is to not do that ;-).
To get the truck fully fixed up and ready for travel we also had to get an alignment, turned out it was pretty far off. Just for looks I glued a plastic plate back on the front door
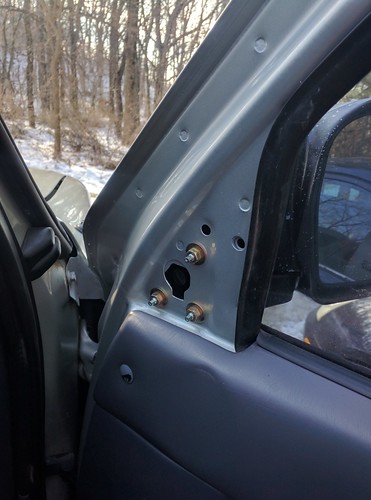
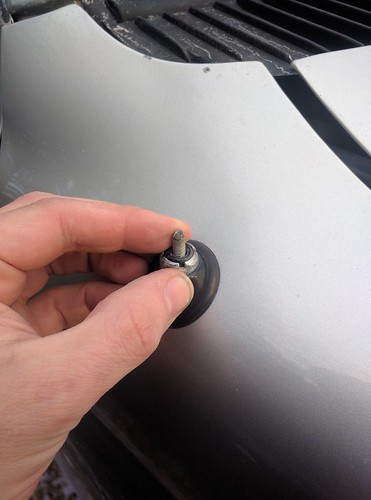
And 'cause music is nice we picked up screw-extractors and a new antenna. I borrowed my friend's drill (my bits), drilled it out, and extracted the base of the old antenna no problem.
We were able to save some, but not all the U-bolts I used to mount the basket to the old cross-bars. A few replacements and everything was back together again, highlift and roof-basket mounted up top.
After doing this, I am never buying a production roof-rack mounts again. This was really quite easy. I feel like the end result is at least as tough, and relatively attractive.
Cost for this was ~$50.0. That's for the replacement u-bolts, new standoff plates, bolts, nuts, washers, silicone and fiberfix... and we didn't even reuse the rails. If you were doing this from scratch you'd need to get something to use as crossbars of course.
Finally, we're ready for the road again! We do need to sand and paint a few spots on the cap so they don't rust, but overall we're fully functional again, and heading south toward Missouri in a couple of days, and then onward to Arkansas.
UPDATE:
The roof rack was sliding back and forth under the fiberfix binding, causing nasty weight shifts while cornering. We picked up some bolts, drilled the rack cross-bars using a hand-crank drill, and ran small 1/4" bolts straight through the rack and metal bracket to keep it from sliding. It's worked great since.