
Buckskin shorts
2015-06-22
If you recall, a while back I finished tanning a deer hide.
http://www.blog.smalladventures.net/2014/05/brain-tan.html
. That was actually the second hide I started, I did some of the work in parallel, but I only just smoked the first hide I started maybe a month ago. This hide required something like 14 days of water-soak before I could scrape it, and (admittedly not knowing what I was doing) it probably has 10 days or more of working the hide trying to get the glue out. This was an extra-ordinarily dense hide.
So, this hide is perfect for making in to a pair of shorts!
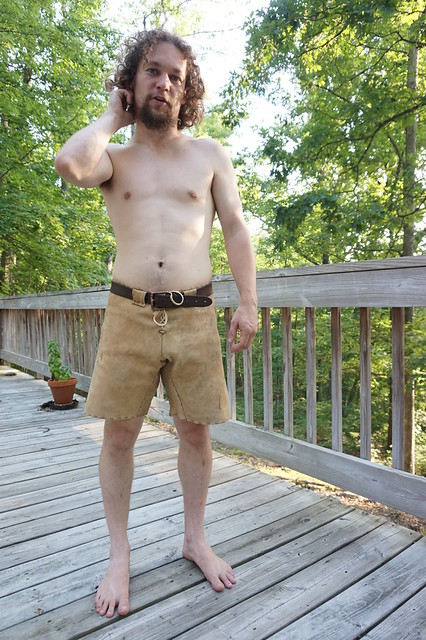
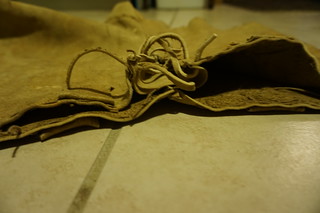
About 3 days total of work, and I have a pair of wonderful shorts. I had an antelope hide that I tanned using a slightly different method as part of a class a while back, it's full of holes and not very useful so I actually cut the lacing I used to sew the pants together out of that.
To make these shorts I started by tracing a pair of commercial shorts I have that fit me well. I particularly wanted to something with a comparatively snug fit, given buckskin's tendency to stretch. This pattern had a gusseted crotch, which I generally like, so I figured the pattern had the best chance of working if I just went with it.
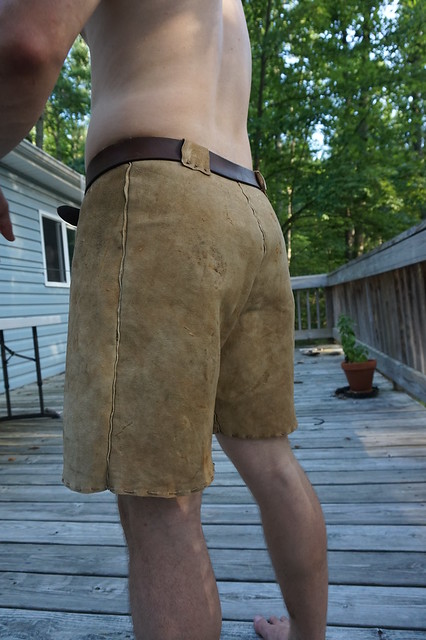
The seams are simple welted seams (I considered other options but this just seemed best for my first pair). To handle the fly I sewed it halfway up the front. When I tried it on and fiddled I realized I'd end up with a bit of a "pouch" in the front, so I pulled that seam back out, cut off a bit more material and sewed it back up. That was my bit of custom tailoring :P.
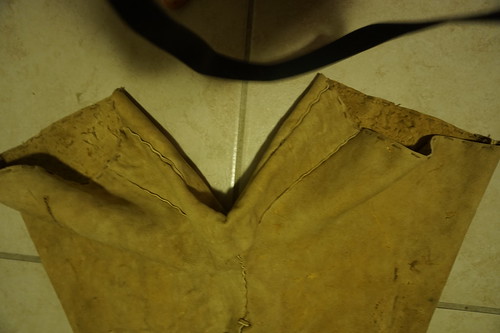
Behind the lacing you see in the image above there is an extra triangle of fabric, made from a really thin part of the deer like an armpit. That fabric is sewn in such that the lacing holes don't actually go all the way through the pants. It's hard to describe but basically the edges of this triangle turn back inwards and are sewn to the main fabric.
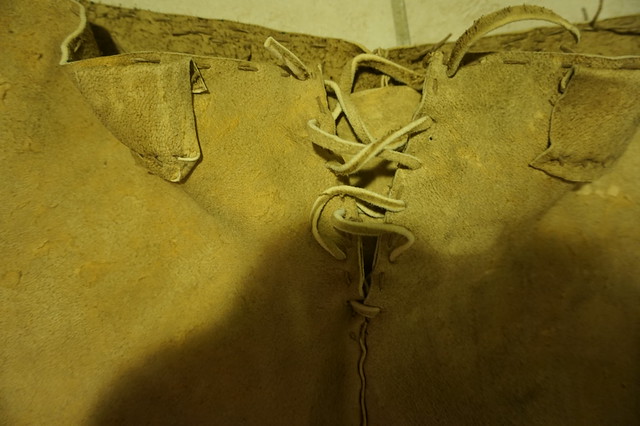
This has advantages for modesty and comfort both, while still letting the pants open up enough to pull over my not insignificant rear.
Now, onwards to the technical details.
Working with buckskin is pretty interesting. It is very difficult to tear, and doesn't fray at all, but it stretches easily. I carefully laid it out so the rear was the thickest part, which on this particular hide is up near the neck area. The front is made from the rear end of the deer The gusset is made from a middling weight part of the hide. As mentioned above the extra flap behind the fly is an extra lightweight piece.
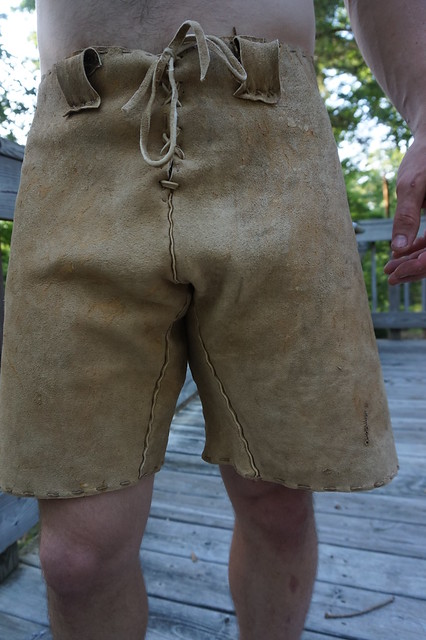
The lacing is cut about as thin as I could, from already thin bits.As mentioned earlier I used an antelope hide that wasn't otherwise super useful..That lacing was then wetted and stretched by squeegeeing out the water. This prestretches it so the lacing won't stretch too much once everything is sewn up.
You may notice looking at the shorts that there's a line of stitching around the waist, as well as a line around each leg. Since it's prestretched these lines keep the fabric from stretching out of shape so it doesn't fit right.
This is my first piece of buckskin clothing, so I got quite a bit of help and advice from Jess on various aspects like prestretching the lacing, using welted seams, etc.